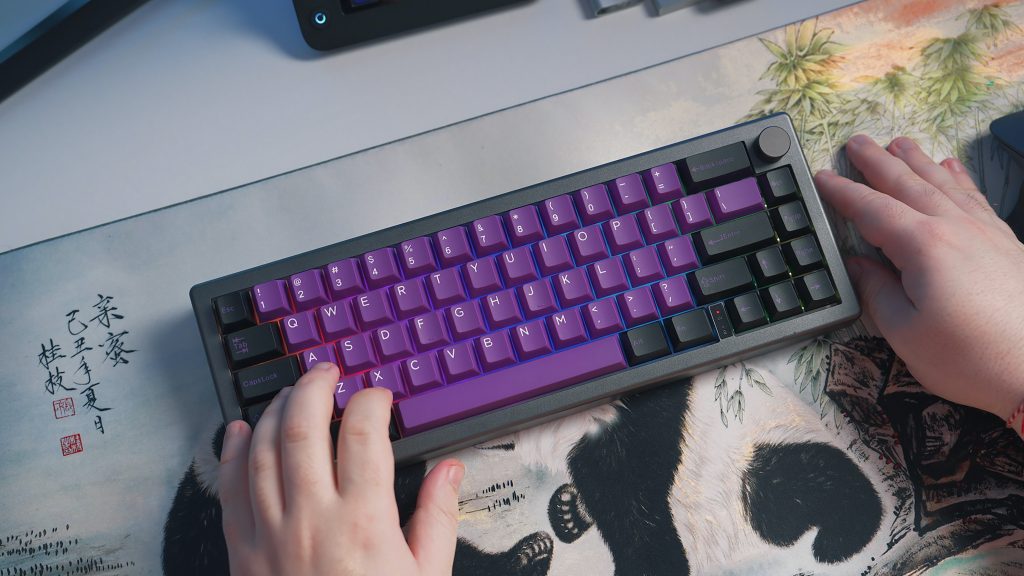
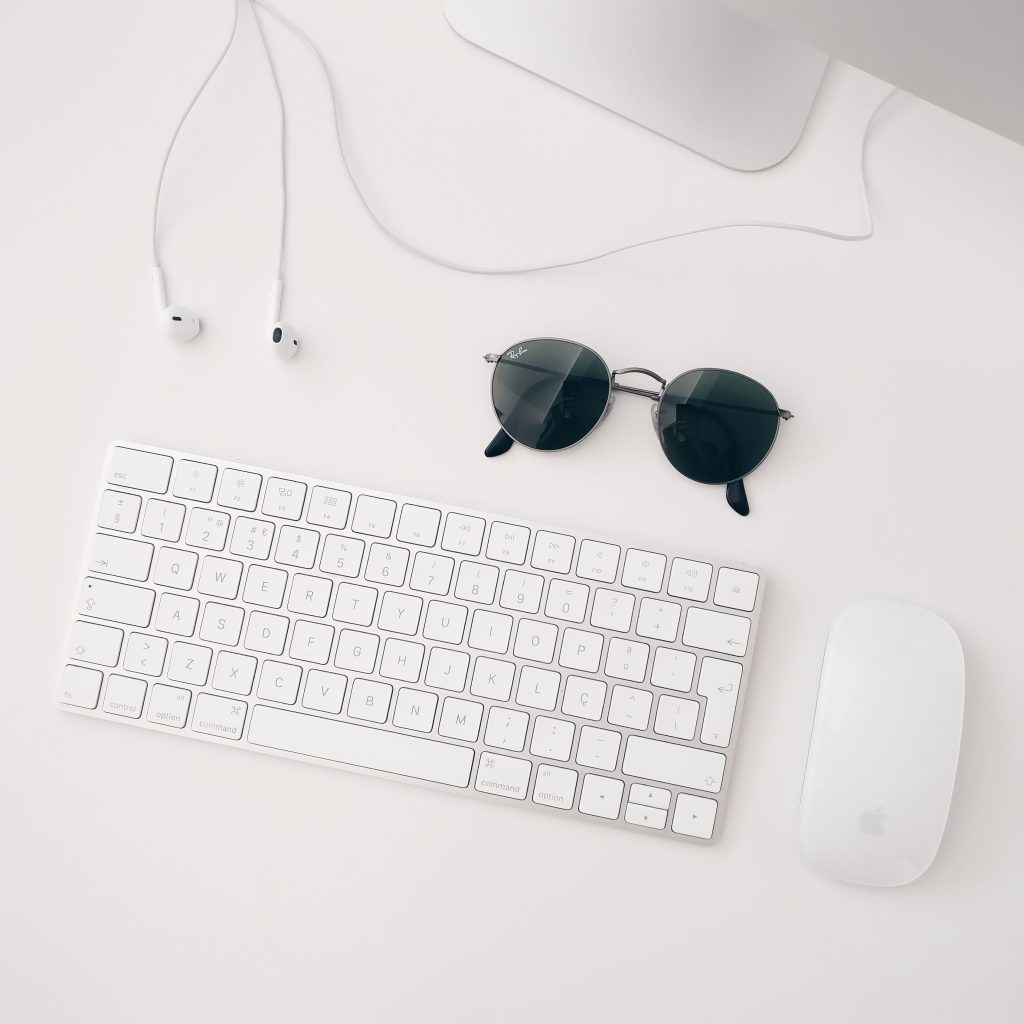
We’ve all been there. It’s a calm Sunday afternoon, you’re ready to kick back and relax with your favorite video game or maybe write that novel you’ve been dreaming about. But there’s one thing standing between you and your weekend plans – the sticky, crumb-infested landscape that is your keyboard.
Yes, your computer’s keyboard. A piece of tech we often forget to clean, but one that accumulates dust, crumbs, and an assortment of grime over time.

The Importance of a Clean Keyboard
In a world increasingly reliant on computers, the keyboard has become a crucial tool.
We spend countless hours typing away, creating documents, sending emails, and scrolling through endless streams of social media. Despite this, cleaning our keyboards often falls to the bottom of our priority list.
Why should you take keyboard cleaning seriously?
Firstly, a clean keyboard significantly enhances your typing experience. Sticky keys and accumulated grime can make typing a chore rather than a seamless part of your digital activities. Secondly, a dirty keyboard can be a breeding ground for bacteria, potentially impacting your health. Cleaning your keyboard is, therefore, more than just an aesthetic choice. It’s a practical step towards a healthier and more efficient digital life.
Your DIY Keyboard Cleaning Guide
Are you ready to roll up your sleeves and transform your dirty keyboard into a shining beacon of cleanliness? Follow these easy steps, and you’ll achieve just that.
Step 1: Unplug and Prep
Start by shutting down your computer and unplugging your keyboard. If you’re using a wireless keyboard, remove the batteries.
Safety first, remember?
Step 2: The Good Old Shake
Turn your keyboard upside down and give it a gentle shake. You’ll be amazed at what falls out!
You may want to do this step over a trash can or outside, for ease of cleaning up.
Step 3: The Detailing
Now, it’s time to tackle the remaining debris. Grab a can of compressed air and blast it between the keys.
Remember that time you dropped your popcorn during that suspenseful movie scene? This step will take care of the remnants!
Step 4: The Deep Clean
For those stubborn bits of grime, cotton swabs dipped in isopropyl alcohol are your best friends. Gently swab between the keys.
This step requires patience, but think of it as a therapeutic activity!
Step 5: The Finishing Touches
Finally, wipe your keyboard down with a microfiber cloth. And voila, your keyboard is now as good as new!
Read More: Best Keyboard Cleaner – Review & Buying Guide
A Note on Keyboard Cleaning Products
There are several keyboard cleaning products available in the market today. From key pullers to vacuum cleaners designed for keyboards, you have many options.
Investing in these products can help you maintain a clean keyboard with minimal effort.
Keeping Up With Regular Keyboard Maintenance
Cleaning your keyboard shouldn’t just be a reaction to visible dirt or sticky keys. Like any other essential tool in our lives, keyboards also need a routine check-up.
Let’s break down some keyboard maintenance habits that can make your cleaning job easier in the long run.
Regular Dusting
A weekly dust-off can keep your keyboard looking fresh and prevent dirt buildup.
Use a microfiber cloth or a soft brush to sweep away the dust. Remember, consistency is the key to an always clean keyboard!
Quick Clean-ups
Did a crumb just fall in between the keys while you were munching on your snack? Don’t let it linger!
Use a handheld vacuum or a can of compressed air to deal with these little messes promptly.
Wipe-down After Use
Our hands come into contact with various surfaces throughout the day, transferring oils and germs to our keyboards.
A quick wipe-down with a cleaning wipe or a microfiber cloth dampened with a little isopropyl alcohol can keep your keyboard clean and germ-free.
Key Pulling for a More Detailed Clean
For those willing to go the extra mile, key pulling provides a way to clean under the keys, where most of the dirt hides.
But remember, before pulling out those keys, it’s essential to check your keyboard’s manual or manufacturer’s instructions. Some keyboards have keys that aren’t meant to be removed and can be damaged in the process.
Step 1: Removing the Keys
First, unplug your keyboard or remove the batteries if it’s wireless. Use a key puller to gently remove each key.
Keep a diagram handy to remember where each key belongs. Mixing up your keys can lead to a confusing typing experience!
Step 2: Cleaning Underneath
With the keys removed, you now have full access to the hidden areas of your keyboard.
Use compressed air, a small brush, or a cleaning wipe to remove the dust and debris underneath the keys.
Step 3: Cleaning the Keys
Place your keys in a bowl of warm water with a few drops of dish soap. Allow them to soak for a while before gently scrubbing them clean.
Rinse thoroughly and let them dry completely before reassembling.
Remember, patience is key!
Step 4: Reassembling Your Keyboard
Refer to the diagram you made earlier and carefully place each key back in its proper position.
Once you’ve put everything back together, you’ll have a keyboard that looks and feels brand new!

The Keyboard Cleaning Products You Need
While household items like cotton swabs and cleaning wipes can get the job done, having a few dedicated keyboard cleaning products on hand can make the task much easier.
Compressed Air
A can of compressed air is an essential tool for blasting away dust and debris that’s stuck between your keys.
Key Puller
This simple tool makes removing keys a breeze, allowing for a more detailed clean.
Keyboard Vacuum
A keyboard vacuum can be a game-changer for regular keyboard maintenance. These small devices are perfect for sucking up crumbs and other debris.
Cleaning Slime
Cleaning slime is a fun and effective way to clean your keyboard. Simply press the slime into the keyboard, and it will pick up dust and debris.
Incorporating these products into your keyboard cleaning routine can make the process quicker, more efficient, and even a little bit fun!
The Joy of a Clean Keyboard
There’s something satisfying about typing on a clean
keyboard. The keys respond better, there’s no disturbing crunch of hidden debris, and the clean surface makes the whole experience feel more professional and productive.
In the modern world, we spend a significant portion of our day on our computers. From work-related tasks to socializing and entertainment, our keyboards are a crucial gateway. Keeping them clean is not just about hygiene or aesthetics, it’s about making our digital interactions more pleasant and efficient.
No Keyboard is Too Dirty to Clean
Remember that keyboard you spilled coffee on? Or the one where an entire lunch seemed to disappear between the keys?
No keyboard is beyond salvation. With the right cleaning techniques, even the dirtiest keyboard can be brought back to life.
Take it as a challenge or a weekend project. As you progress from a grimy, sticky mess to a clean and smooth keyboard, you’ll feel a sense of accomplishment that’s well worth the effort.
Read More: Understanding the Azerty Keyboard: From Basics to Benefits
The Bottom Line: Keyboard Cleaning is Worth It
Cleaning your keyboard may seem like a daunting task, especially if you’ve never done it before. You might be worried about damaging your keys or not putting them back correctly.
But as with any other new skill, it gets easier with practice. The first time might take you a while, but soon you’ll be a keyboard cleaning expert, capable of tackling even the dirtiest keyboards with ease.
Moreover, the benefits of regular keyboard cleaning are undeniable. Not only will your keyboard look and function better, but it also creates a healthier environment by reducing bacteria and germs.
“Clean Keyboard, Better Typing” is more than just a catchy phrase, it’s a statement of fact. A clean keyboard enhances your typing experience, and in turn, makes your digital activities more enjoyable.
And there you have it, a comprehensive guide on how to clean your keyboard, maintain it, and the joy of a pristine typing experience. So, get those cleaning supplies ready and give your keyboard the deep clean it deserves!

Experience is what matters at the end!!
Hi! This is Jacob Jay – founder of Keyboardgear.com! From childhood to adulthood, I’ve always remained passionate about IT, and the revolution in this industry, especially gaming on the PC can’t go out of my way. Since I’m an enthusiastic gamer, and I love to experience various gaming accessories, particularly mechanical keyboards, that really boost my gaming adventure manifolds. So, my nerve cells hit me to transfer my experiences into word form and share with others to identify the ideal keyboards perfectly fit for their gaming modes.
I know very well how hard it is to find the high-quality items available on the internet that ought to be exactly the same as seen as on the screen. But the counterfeiters have ruined the user’s trust. As I have passed all such situations, I’m obliged to deliver the genuinity and express the same as what I am saying.
So, now, I’m working on the mission to provide very helpful and frankly but trustworthy reviews and guides about various mechanical keyboards, mouses, and other gaming accessories as per my personal experiences and sound knowledge.
